Setting up a Raspberry Pi in 2023 (headless)
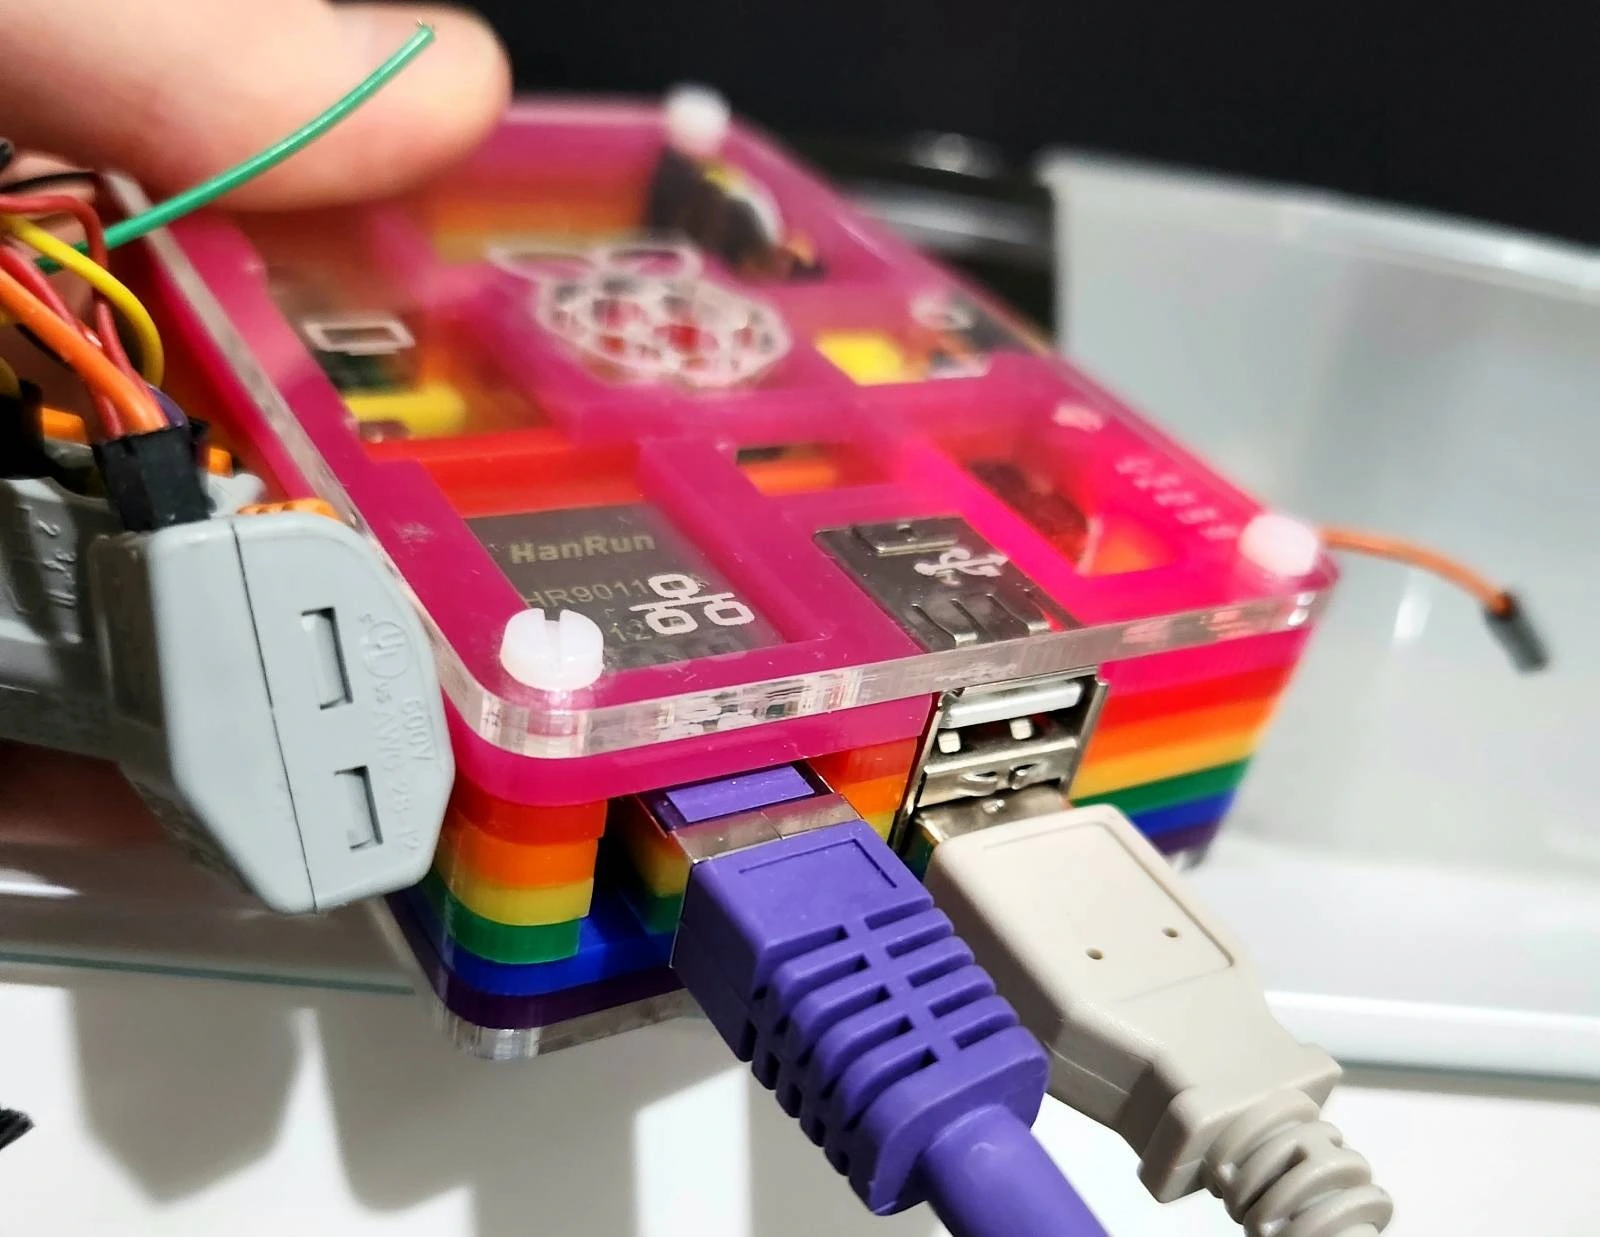
In this blog post, I’ll explain how I set up the original Raspberry Pi (Model B Rev 1) headlessly on a Linux computer, meaning that there’s no need to connect a display, keyboard, or mouse to the Raspi.
I did the setup at the end of 2022, so this blog is up to date for configuring in 2023.
Even though I’m using an old Raspi, the instructions will likely be the same for other Raspis.
However, connecting to wireless networks headlessly isn’t covered.
I used the good old dd instead of installing and using the Raspberry Pi Imager.
Additionally, I’ll share a bit of my Raspi history at the end of this post for those interested.
Operating system
Even though I’m tempted to try BSD someday, Linux is a natural choice for a Raspi. This time, the distro of choice is the Raspberry Pi OS. It appears to be a new version of Raspbian, which I’ve used earlier. Both are Debian systems with Raspi-specific configuration and tools, which suits my needs excellently. Debian is an incredible distribution, and the stableness is excellent as I don’t want to update the packages all the time (as opposed to using, e.g., Arch Linux). The Raspberry Pi OS is designed to be used with Raspis, so I’m likely having the fewest issues with that choice.
Flashing the SD card
I downloaded the Raspberry Pi OS Lite from here.
Then I checked that the SHA256 checksum matched and used dd to flash the SD card.
The command is below, but please note that I’ve had many systems where /dev/sda is the primary disk.
Double-check the device corresponding to your SD card and change the /dev/sda part of the command to reflect that.
Otherwise, you could lose data and break your computer!
sudo dd if=Downloads/2022-09-22-raspios-bullseye-armhf-lite.img of=/dev/sda status=progress
Configuring SD card for headless setup (user + SSH)
After learning that there’s no default user in the Raspberry Pi OS today, I learned to create a user headlessly. This was done by adding a file to the boot partition of the newly flashed SD card. I followed these instructions from raspberrypi.com:
- Use OpenSSL to encrypt a password:
echo 'raspi_users_password' | openssl passwd -6 -stdin - Create a file named
userconfin the root directory of the SD card’s boot partition - Add a line of text to the new file in the following format:
username:encrypted_passwordwhereusernameis the username you want to use to log in to the Raspi, andencrypted_passwordis the string generated with OpenSSL.
Another modification is to enable remote usage via SSH by creating an empty file in the boot partition’s root directory with the name ssh.
This way, I can connect to the Raspi without a display and keyboard.
Booting up and connecting
Next, I inserted the new SD card into Raspi and booted it up. After a moment, it successfully connected to the local network via ethernet. I checked the IP address from my router’s user interface, and SSH’d my way in using the credentials set up earlier. I also set the router to give the same IP address for the Raspi every time it connects.
Configuring the system
SSH keys and configuration
It’s a good idea to disable SSH login using a password.
First, I used the command ssh-copy-id to copy my public key to the Raspi.
ssh-copy-id -i .ssh/id_ed25519 user@raspi_ip
Of course, adding the public key manually into Raspi’s /home/username/.ssh/authorized_keys file is also possible.
Now that I can log in with a key, I can disable SSH login using a password.
I used EDITOR=vi sudo -e /etc/ssh/sshd_config to open the SSH server configuration in a vi-like editor.
Then, I uncommented the PasswordAuthentication line and changed the value yes to no.
Then I ran sudo service ssh restart to ensure the changes were effective.
To confirm that password login is disabled, I ran the following on my laptop: ssh -o PubkeyAuthentication=no user@raspi_ip.
Using the -o PubkeyAuthentication=no option disables using keys, and the login thus fails when the server configuration denies password login.
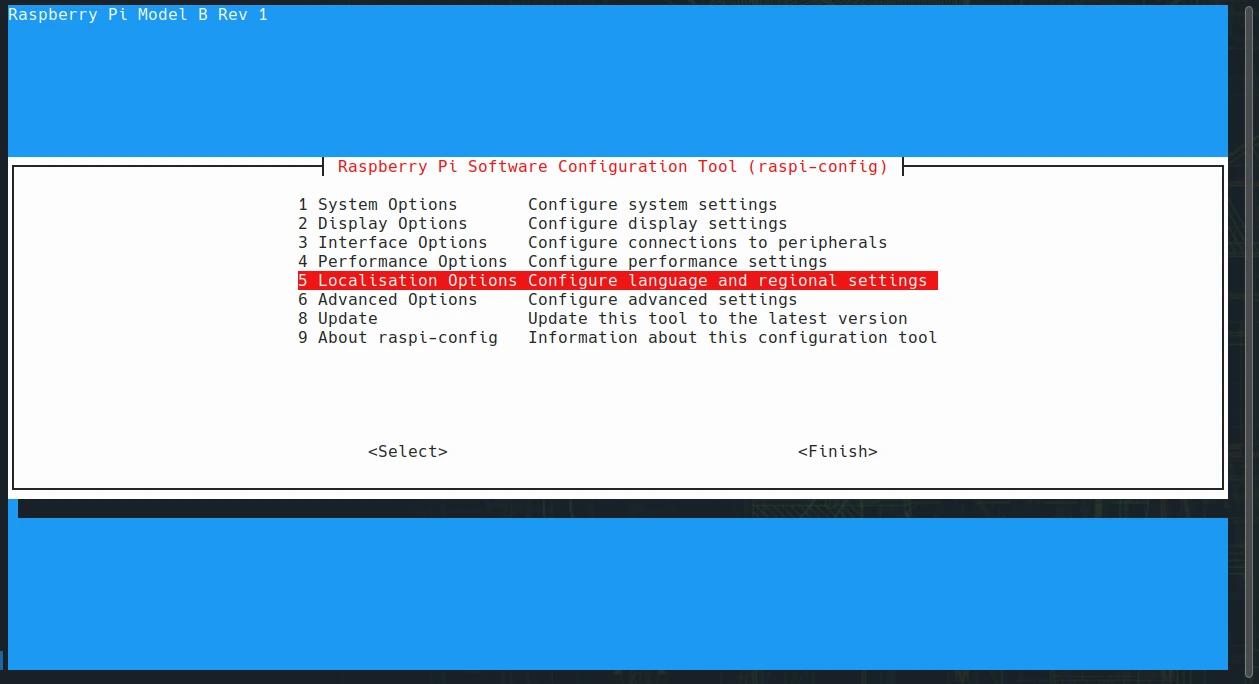
The raspi-config configuration tool
raspi-config is a handy tool for configuring a Raspberry Pi.
It can be used to set things that are usually configured when installing a Linux distribution.
I ran sudo raspi-config and went through the menu.
1 System Options
- S4 Hostname
- I changed the hostname to a bit simpler yet unimaginative:
raspi
- I changed the hostname to a bit simpler yet unimaginative:
- S5 Boot / Auto Login
- No autologin of any kind
3 Interface Options
- I2 SSH
- Set SSH enabled (to make sure it’s always enabled)
- I7 1-Wire
- Enable the
one-wireinterface, as I have some temperature sensors connected - After enabling, I can access the sensor data at
/sys/bus/w1/devices/$DEVICE
- Enable the
5 Localisation Options
- L1 Locale
- Select
en_US.UTF-8andfi_FI.UTF-8 - Set default locale to
en_US.UTF-8 - This way, there are no more warnings about locales
- Select
- L2 Timezone
- Set the timezone to
Europe/Helsinki
- Set the timezone to
6 Advanced Options
- A1 Expand Filesystem
- This makes sure that the whole storage capacity of the SD card is used
After making the above changes, I rebooted the Raspi to ensure that all changes were applied and that everything (including SSH) worked as intended after a fresh boot.
Making myself feel at home
I installed
some useful software
as a step of installing my dotfiles.
I’ve described my current go-to Linux system setup in this blog post.
My shell setup excels on desktop computers and servers, but I had yet to try it on a device with very modest computing resources, like the first-generation Raspi.
Basic shell usage works alright.
However, opening Neovim takes a long time.
That is unless I bypass my configuration by starting my favorite text editor like this: nvim -u NONE.
Even though I’ve tried to keep my Neovim configuration reasonably light, it seems to be a bit too much for the poor old Raspi.
It might be a good idea to create a more lightweight version of my shell and Vim configuration for use cases like this. However, the configuration is still usable, and I shouldn’t spend much time in Raspi’s shell anyway.
My journey with the Raspberry Pi
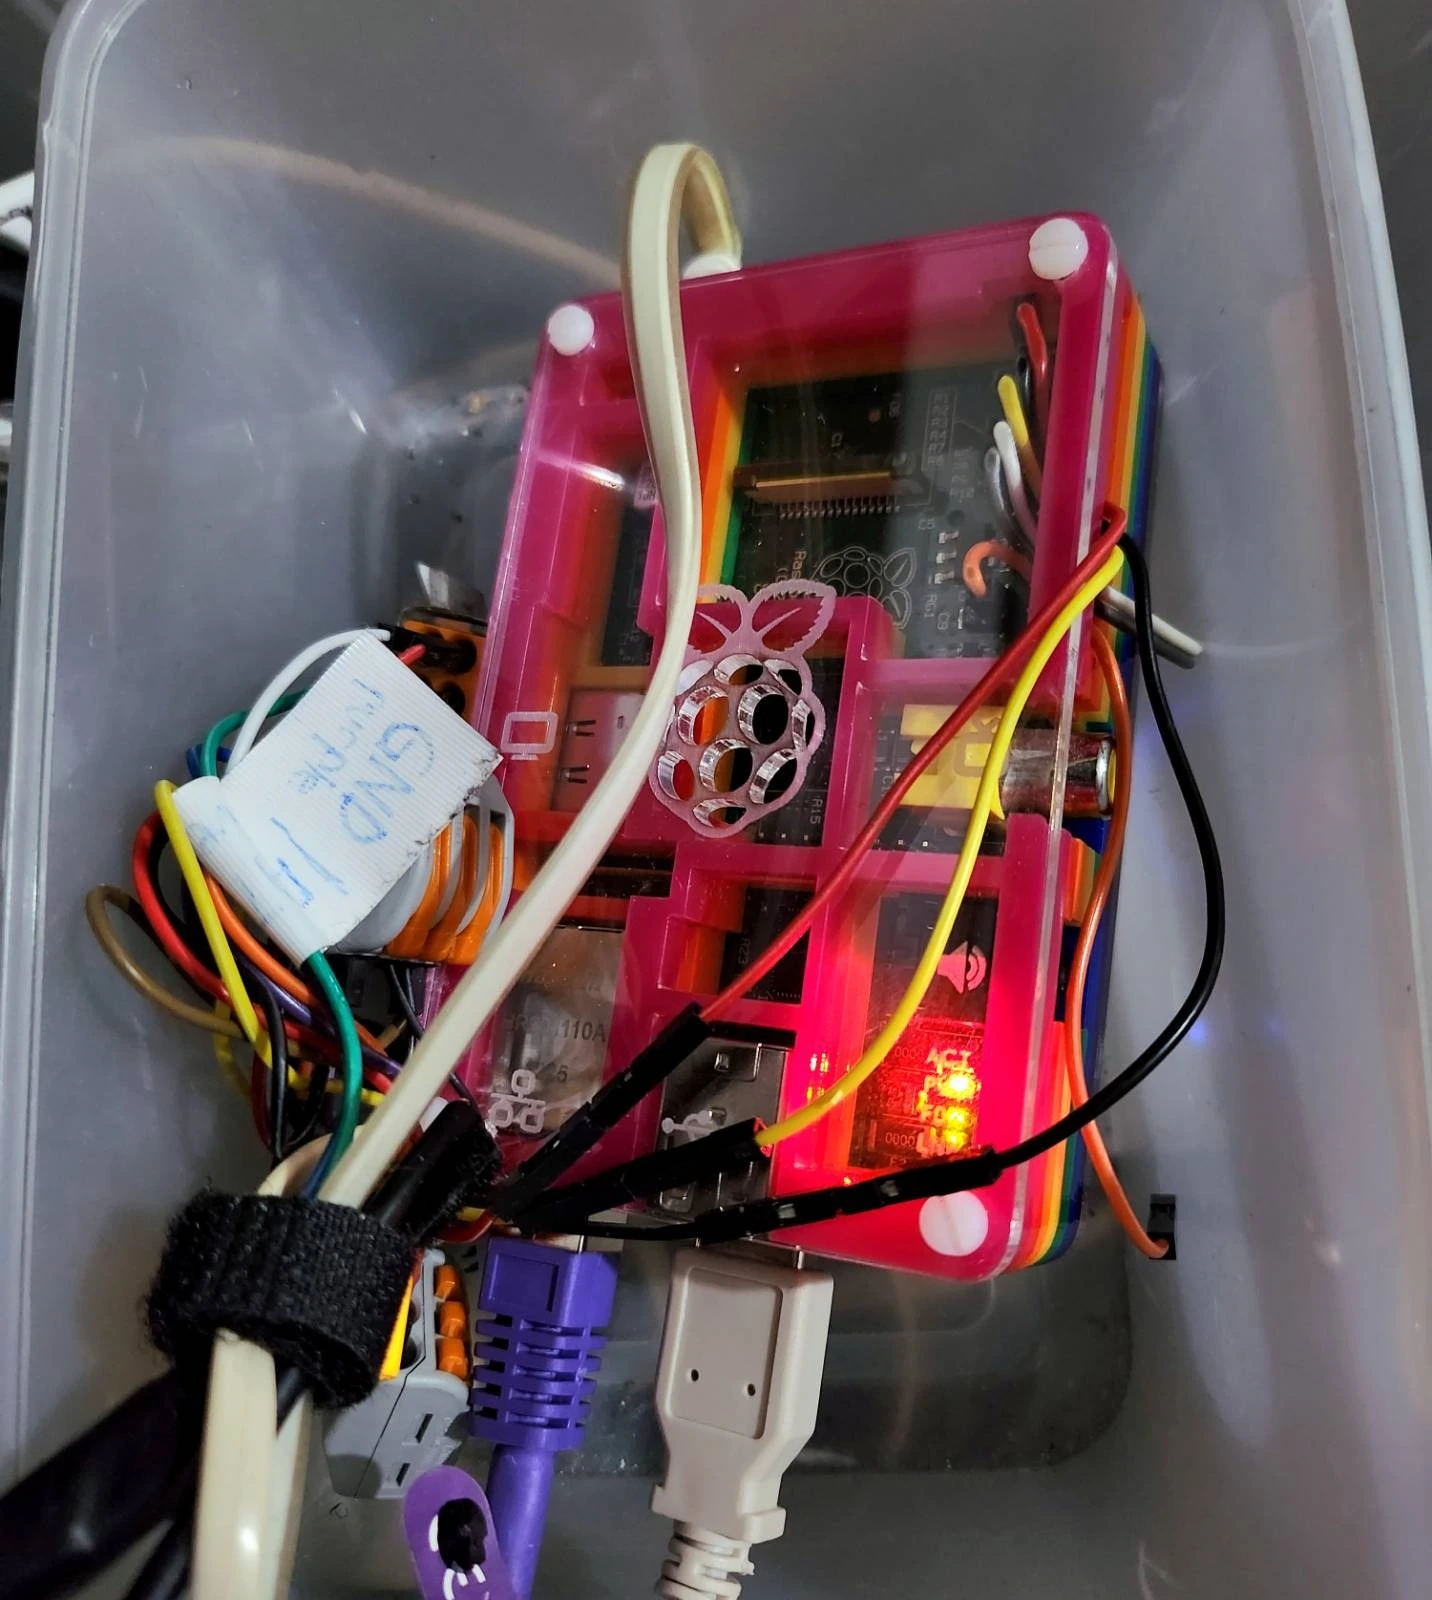
I’ve had this Raspi since the year it was first introduced, 2012. It has served me well, first as a general-purpose shell server and running a Telegram bot telling the outdoor temperature for the last few years. For the last year or so, it has been resting unused, as there were issues with it that I hadn’t properly looked into and fixed.
After moving into a new apartment, the wired temperature sensor could no longer reach from my “server closet” to outdoors easily, and I started looking into other options. I got some RuuviTags and decided to create the third iteration of my temperature bot, which is yet to be done. I had to upgrade it with a Bluetooth USB dongle to gain the ability to sniff RuuviTag signals, and I got a new SD card, as a faulty card may have caused the previous issues.
The old Raspi is slow. For example, installing software takes ages, and generally, using the terminal feels laggy. However, that only matters a little, and the light scripts I want to run on it work fine.
The original Raspi still gets the job done!
Did you like this post?
I'll announce new posts in the following channels:
See my blog's front page to read my other posts.
You can reach me on Mastodon: @sampo@hachyderm.io. I'd love to hear from you!